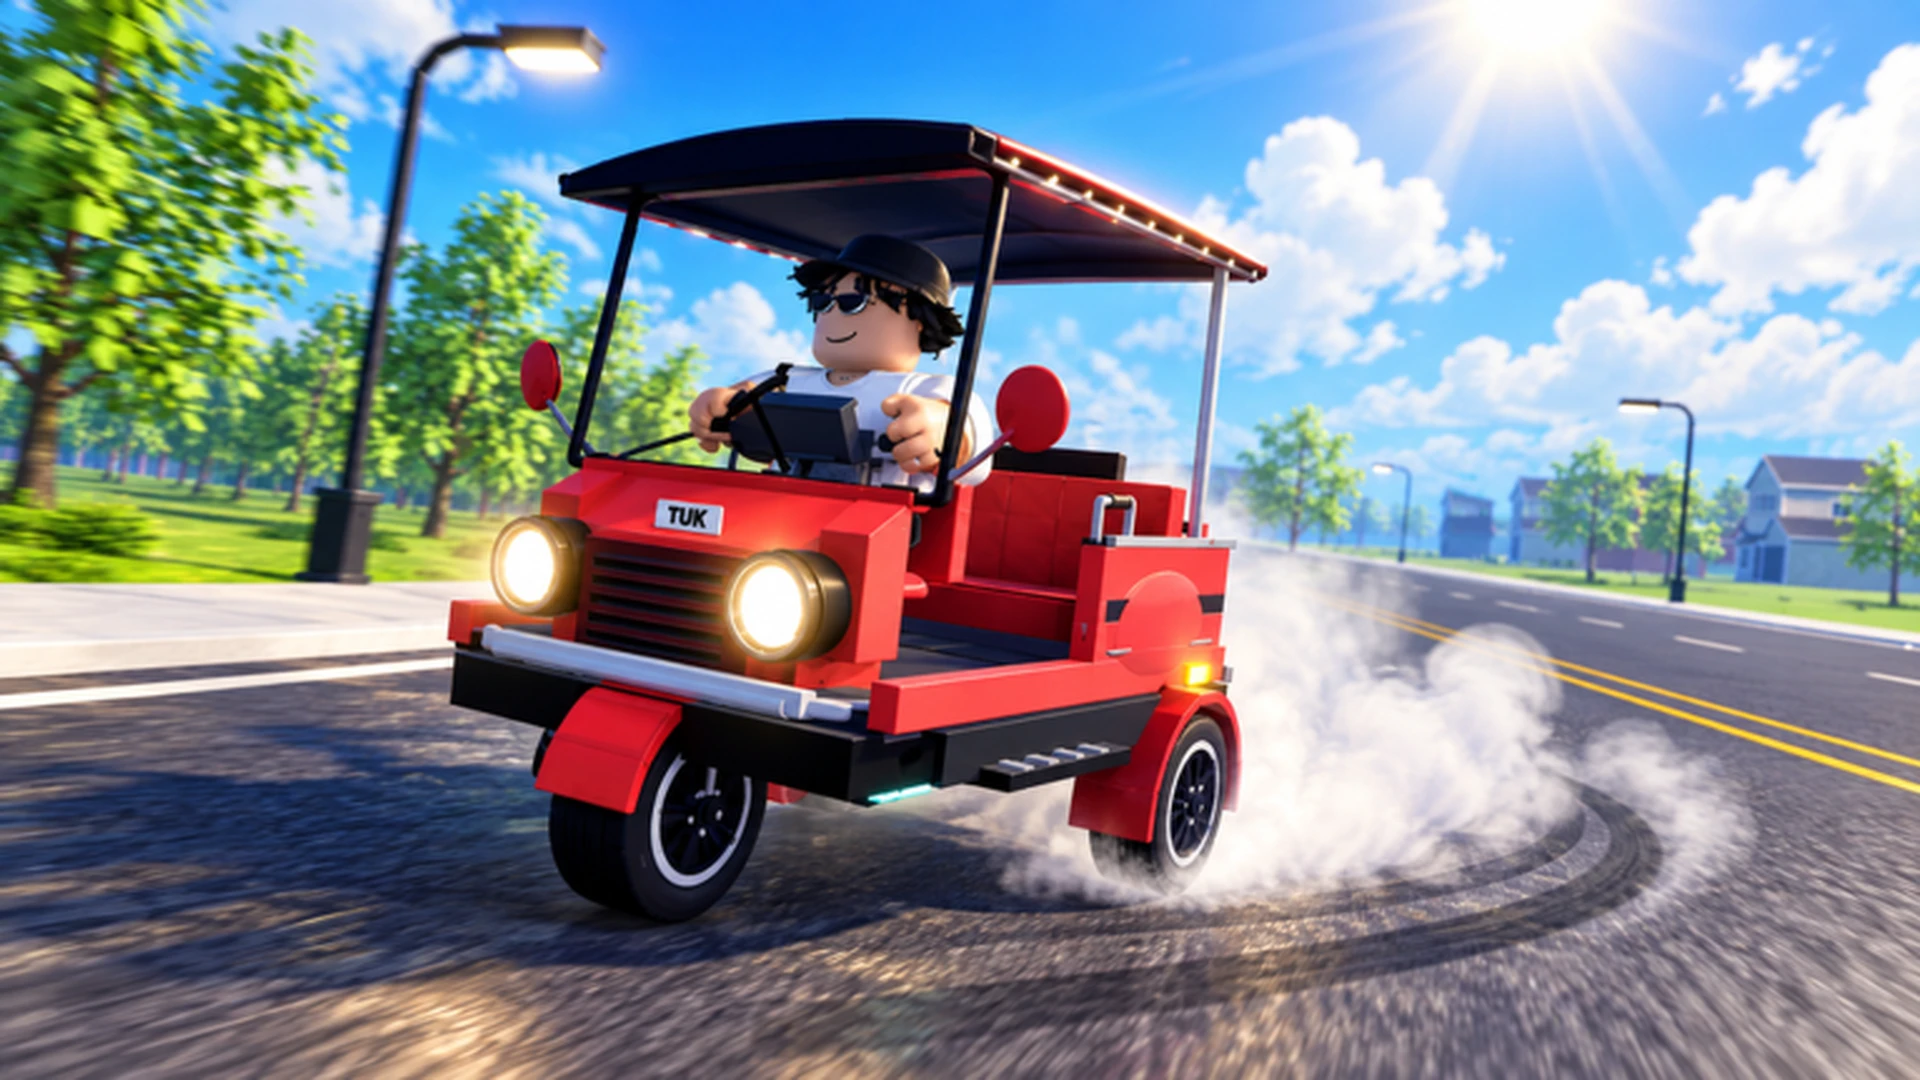
- Drive A Tuk Tuk mountain map runs reward distance-based cash, so longer climbs mean bigger payouts.
- Handling and braking matter more than top speed on steep, winding terrain.
- Weather and day-night cycles change visibility and grip, so plan runs accordingly.
- Upgrade acceleration first to recover speed after hairpin turns and steep grades.
- Repeat familiar routes to reduce crashes and maximize consistent earnings.
Mountain Map Overview and Route Selection
The Drive A Tuk Tuk mountain map is one of the most demanding environments in Lumora Inc.'s Roblox driving simulator. Unlike flat city routes, mountain roads combine steep grades, sharp switchbacks, and variable weather, making vehicle control the deciding factor between a profitable run and a costly crash.
The game's core loop — drive, earn cash, upgrade performance — scales directly with the terrain you tackle. Mountain routes generally pay more per trip than flat routes because they demand better builds and cleaner driving.
| Route Type | Difficulty | Payout Trend | Best Build | Key Risk |
|---|---|---|---|---|
| Lower foothill roads | Easy | Steady, moderate | Stock or balanced build | Light traffic |
| Mid-mountain switchbacks | Medium | Higher per distance | Handling build | Overshooting hairpins |
| Steep summit climbs | Hard | Highest per distance | Speed + durability build | Losing control on descent |
| Night / rain mountain runs | Very hard | Bonus potential | Durability build | Low visibility, slippery roads |
Start with mid-mountain switchbacks once your Tuk Tuk has at least basic handling upgrades. The payout jump from foothill roads is significant, and the driving skills you build there transfer directly to summit climbs.
Best Tuk Tuk Setup for Mountain Terrain
Your upgrade order should change when you move from flat maps to the mountain map. Top speed is far less useful when every corner forces you to brake down to a crawl.
The confirmed upgrade system covers speed, acceleration, handling, and braking, plus cosmetic customization. On mountain terrain, prioritize in this order:
| Upgrade | Mountain Priority | Why It Matters on Hills | Recommended Level |
|---|---|---|---|
| Acceleration | High | Restores speed quickly after hairpins and steep grades | Upgrade first |
| Handling | High | Keeps three-wheel stability through switchbacks | Upgrade early |
| Braking | Medium-High | Controls descents and prevents overshooting corners | Upgrade before summit runs |
| Top Speed | Medium | Only useful on the few straight mountain stretches | Upgrade after control stats |
| Cosmetics | Low | No performance effect | Optional |
Handling Build
- Best for: learning the mountain map
- Priority: Handling, then acceleration
- Tradeoff: slower on straights
Balanced Build
- Best for: all-around mountain farming
- Priority: Weakest stat first
- Tradeoff: no peak performance
Speed Build
- Best for: experienced drivers, races
- Priority: Acceleration, then top speed
- Tradeoff: punishing on mistakes
Do not invest heavily in top speed before braking and handling are comfortable. On downhill mountain segments, uncontrolled speed is the number one cause of crashed runs and lost income.
Step-by-Step Mountain Run Strategy
Follow this sequence to turn the mountain map into a reliable income source rather than a crash-heavy gamble.
Scout the Route Unloaded
Drive the full mountain route at moderate speed once. Memorize where hairpins, steep drops, and narrow sections appear before pushing for speed.
Upgrade the Current Bottleneck
Spend early cash on the stat that limits you most — usually handling for new drivers, acceleration once corners feel manageable.
Establish a Repeatable Loop
Pick one mountain route you can complete cleanly and repeat it. Consistency beats theoretically higher-paying routes you crash on.
Add Weather and Time Variations
Once the dry-day loop is comfortable, practice night and rain runs. These conditions train control and prepare you for event routes.
Reinvest Into Performance
Route mountain earnings back into acceleration and braking before cosmetics. Each control upgrade shortens future runs and reduces failed attempts.
A clean mountain loop without crashes is worth more than a fast loop with two wrecks. Aim for zero-crash consistency first, then chase speed.
Mountain Driving Techniques and Controls
Platform controls shape how well you can handle technical mountain sections. Keyboard steering gives the most precise correction; mobile players should rely on short steering inputs and early braking.
| Platform | Steer | Accelerate | Brake / Reverse | Mountain Tip |
|---|---|---|---|---|
| PC | A / D | W | S | Tap-steer through hairpins; never hold a turn |
| Mobile | On-screen steering | Forward button | Brake control | Release throttle before sharp corners |
| Controller | Left stick | Accelerate prompt | Brake prompt | Gradual stick movement for smoother cornering |
Key techniques for steep terrain:
- Brake before the corner, not in it. Three-wheeled vehicles lose stability mid-turn if you brake while turning.
- Use gravity on descents. Let the slope build speed on straight descents, then brake early for the next bend.
- Straighten out of switchbacks. Exit hairpins as straight as possible before applying full throttle.
- Watch the weather. Rain and night cycles reduce visibility; slow your reference speed by a comfortable margin.
If you cannot see the exit of a mountain corner, enter it slow enough to stop halfway through. Recovering from a slow corner costs seconds; recovering from a crash costs the whole run.
Mountain Map Goals Checklist
Mountain Map Milestones:
- Complete one full mountain route without crashing
- Upgrade handling and braking to comfortable levels
- Establish a repeatable mountain cash loop
- Finish a night or rain mountain run cleanly
- Reinvest first mountain earnings into acceleration
Daily and weekly quests frequently align with distance and route completion. Combining a mountain loop with active quests stacks income from two sources at once — check the quest panel before choosing your route.
Mountain Map FAQ
Q: Is the mountain map the best place to earn cash in Drive A Tuk Tuk?
Mountain routes generally pay more per distance than flat routes because they are harder to complete cleanly. However, the best income source is whichever route you can finish consistently without crashing. A flat loop you never fail can out-earn a mountain route you wreck on twice per trip.
Q: What is the best Tuk Tuk build for the mountain map?
A handling-focused or balanced build is the safest choice for mountain terrain. Prioritize handling and braking first, then acceleration. Only move toward a speed-focused build after you can complete mountain routes without crashes.
Q: Do weather and time of day affect mountain driving?
Yes. Drive A Tuk Tuk includes different environments, weather conditions, and day-night changes. Night and rain reduce visibility and make technical mountain sections harder, so treat them as advanced variations once your dry-weather runs are consistent.
Q: How do I stop losing control on mountain descents?
Brake early and in a straight line before corners, never mid-turn. Upgrade braking alongside handling, let gravity build speed only on straight descents, and enter blind corners at a speed where you could stop halfway through.